
My friend Nora gave me this recipe for Apricot Tzimmes Brisket, It is sweet & delicious… cooked to tender perfection it is a wonderful fall/winter main course to make
I had to change the recipe a bit for 2 reasons! One… my brisket was small, the original recipe calls for a 4 lb brisket, mine was only about 2 lb so I halved the recipe. Two… it also called for prunes, which I did not have so I used dried figs & raisins! So the taste will be different then I remember it.
Here is the adapted recipe…if your brisket is bigger, adjust the ingredients accordingly
Ingredients
2 lb beef brisket
2 tbsp vegetable oil
1 tsp salt
1/4 tsp black pepper
1 small onion, thinly sliced
2 carrots, peeled & cut into 1/2 inch chunks
1/2 lemon, thinly sliced
1 1/2 cups dried apricots
1/2 cup raisins
1/2 cup cut-up dried figs
1 cup orange juice
1 cup boiling water
1 tsp lemon juice..I squeezed the other half of the lemon from above… and put the leftover lemon juice in the fridge for another time
2 tbsp brown sugar
2 tbsp honey
Method
You will need a dutch oven… I used a soup pot that can go on the stove top & in the oven…if you don’t have that, you can use a saute pan to brown the meat then put the meat into a roaster that has a lid…or a baking dish you can cover with foil
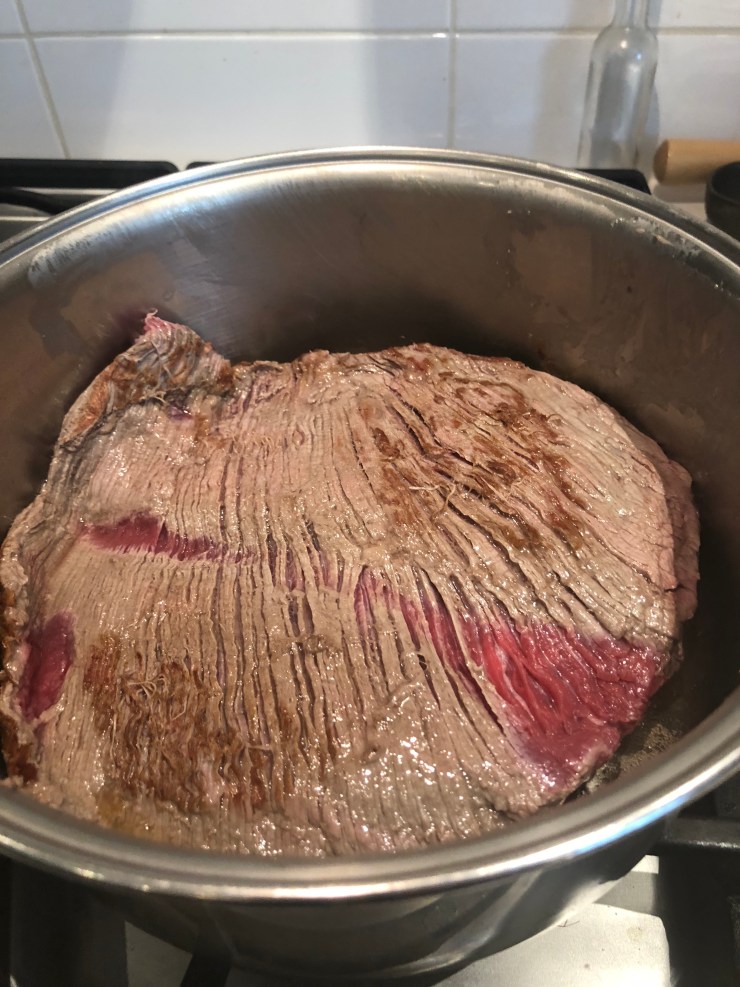
- Heat the oil in the pot you are going to use…
- Brown the brisket on both sides & then turn the heat off
- Season both sides of the meat with the salt & pepper
- Spread the sliced onion all over the top of the meat
- Place the cut-up carrots, sliced lemon around the meat
- Add the dried apricots, raisins & figs… I just put this fruit on top of the onions
- Mix the orange juice, water, lemon juice, brown sugar, & honey together in a bowl or 2 cup Pyrex measure…mix this until the sugar & honey have dissolved
- Pour the liquid over the meat & around the sides
- Cover the pot & put into the oven.
- Bake at 325f for 2-3 hours until the meat is really tender… The cooking time might be longer then 3 hours so just check.
- If your pot is getting too dry add some hot water during the cooking time
- Let cool a bit then slice
- Serve with the fruit & juices!
Enjoy!


Published by